Tuesday 2 December 2014

Some photos

Housesteads fort (Hadrian's Wall Path)

On the Pennine Way

Border country

Evening in the Pentland Hills

Beside the Union Canal

The Falkirk Wheel

Sunset beside Loch Venachar I

Sunset beside Loch Venachar II

Glen Tilt

Result of an Adder bite
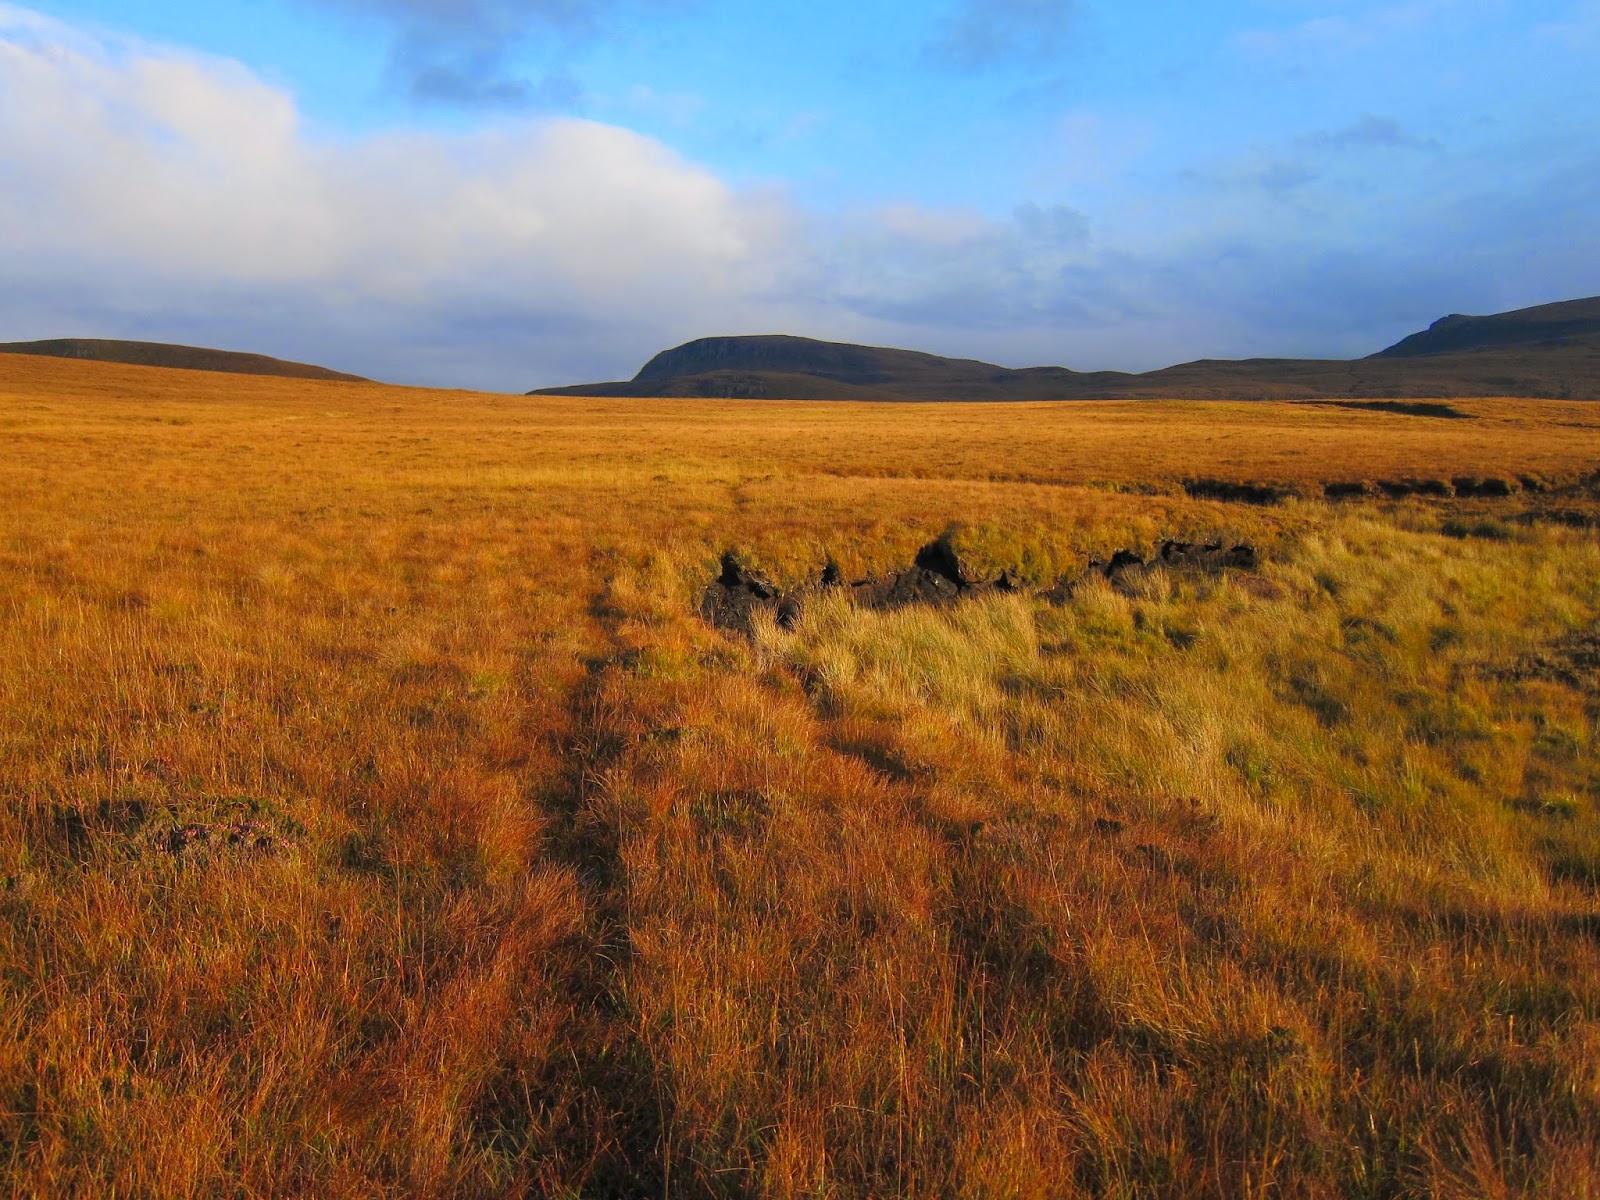
Geldie Burn

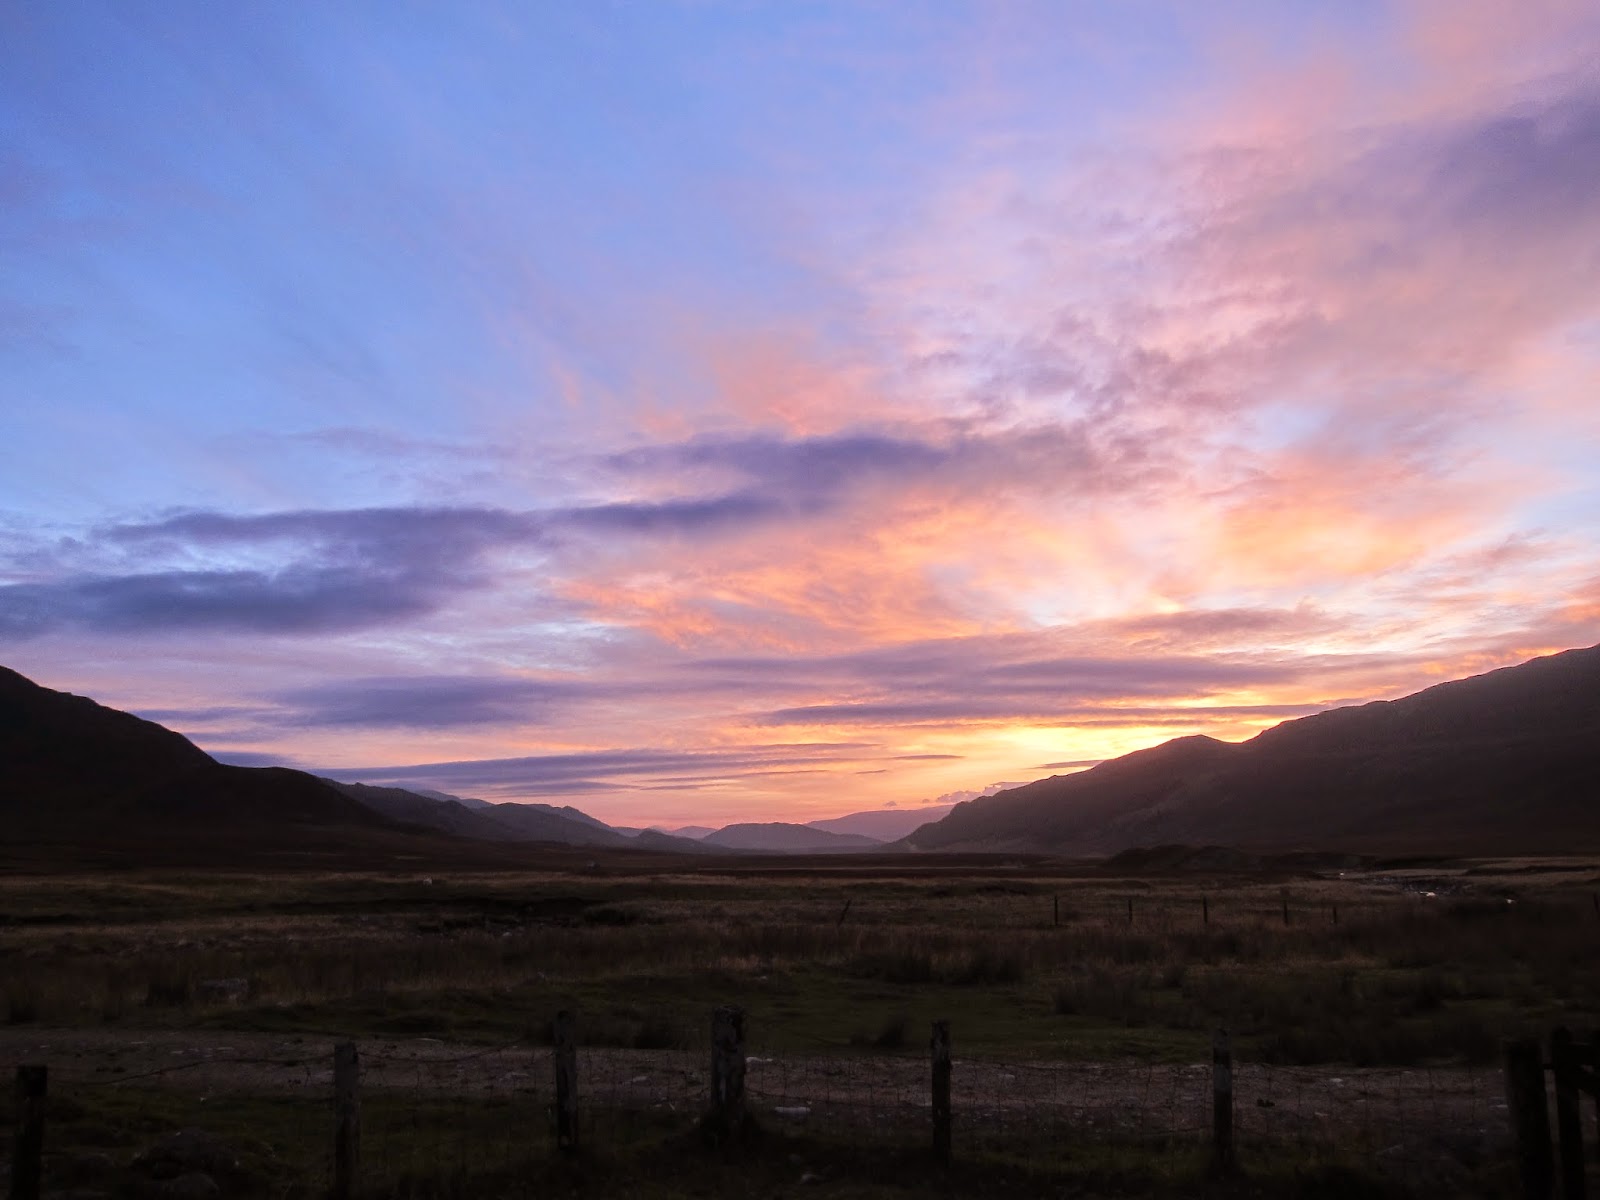
Sunset from Dalnashallag bothy

Colourful ground cover

Cullocky lock

I'm OK with wet feet

Typically wet track

Maol-Bhuidhe bothy

Bendronaig bothy

Lochan Fada

The Abhainn Dubhag in spate

Stag on the crest

Eas a' Chual Aluinn - Britain's highest waterfall

Evening at Glencoul bothy

Between Glencoul and Glendhu

Sunset from Glendhu bothy

Looking back at Glendhu bothy

The formidable sea stack of Am Buachaille

The lighthouse at Cape Wrath

Cape Wrath - the end of the Scottish National Trail

Don't walk past any red flags... unless you have to!

Evening light near Strathcailleach bothy

Strathcailleach bothy

Sandwood beach

Tick!

Some panoramas


The river Tyne (Hadrian's Wall Path)

From the Robin Aitken bird hide

 Overlooking Loch Venachar

The watershed of Scotland near Camban bothy

Lochan Fada

Glencoul

A bleak day near Ben Dreavie

Overlooking Sandwood Beach


Bundle of Files to download

The Bundle

As usual I like to create a bundle of files which can be downloaded.
To make life easy these are zipped into a single file. So one click will get you everything. Updated 14 Dec 2014 to fix some minor map errors.

Within SNT-Bundle-v1.zip there is a Contents.txt file which you can read.

The contents are divided into two folders
  • Taken with me which are files I prepared before the walk.
    • Files for GPS - Tracks, Notes, and POI.
    • Files for Kindle - Track notes and summary spreadsheets as PDFs
    • Backup GPS files on a micro SD card. A wise precaution.
  • Created by me which are files I created after the walk.
    • A snapshot of the Google map that I created. Find it here.
    • A list of Waypoints where I camped with co-ordinates.
    • A Kindle version of this blog may appear in version 2 once it is stable.
    • A PDF version may also be available for those without Kindle.

Technical note

If you are creating a blog yourself and want a Google Drive file to download immediately when a link is clicked (as opposed to the document first opening and then having to click download as a separate action) you need to change the link as below:

The sharing link for this bundle is:
 https://drive.google.com/file/d/0B25CQPiUwB5dcEpZT2dhaDhJMjA/view?usp=sharing 

The immediate download link is:
 https://docs.google.com/uc?id=0B25CQPiUwB5dcEpZT2dhaDhJMjA&export=download 

Obviously you will have to use the ID particular to your file.

Thursday 27 November 2014

GPS Caveats

For every bit of technology (or rather for every activity that is based on technology) I like to have a plan "B"

In my case that's going to be an iPhone 5s with or without a SIM card (given the Hazards recently encountered I think that might well be with). This provides me with a plan "B" for GPS, Camera, Kindle and iPod in one neat package.

Time was when I had no technology of any sort. Sigh! Do as you wish of course.

Here are some additional caveats specific to GPS which I've learnt over the last few years.


Some GriPeS

Once again I used my Garmin eTrex 20. The more I use this bit of kit the more the crappy software and sloppy interface annoy me. That said it sort of does most of the job with a few significant gripes. 

On the plus side
It is small, quite light, sufficiently waterproof and robust. Battery life is good and running costs low.

On the down side

  • One major irritation is that it frequently loses the destination that it is navigating to. Then I have to repeat finding and choosing the same destination again.
  • It does this after about 30% of power cycles (off/on). I am not sure what triggers this and the latest firmware has not fixed it.
  • If it doesn’t lose the destination it instead tells me that I am arriving at it - even when I am many kilometres away.
  • Waypoints often fail to save. 
  • Garmin customer service is notoriously poor, but have they never actually used one of their products in the wild? How would anyone let this go out the door as a finished product.

As I’m increasingly suspicious of the way it works (or not). Out of caution I now do the following
  • I only have one map enabled at a time. This may also speed up boot times which are often very slow.I only have one Track showing on the map at a time. 
  • As I near the end of one Track I set it to Hide on Map (or Archive) and only then set Show on Map for the next Track.
  • I only save a waypoint where I sleep. And even then I have to check that it actually saved. This is a nuisance.
  • When I save a waypoint I use only the default name (a number).
    If I rename the waypoint it does not save. If a create a waypoint from a place on the map it does not save. 
    Yes, it appears to, but one reboot later and it is gone. A real pain.

In summary
All these irritations aside it does in fact do the rather few things I now demand of it tolerably well. It does them in the dark and in any weather. When later on I look at my google map (in satellite view) I find that a waypoint I have recorded is smack bang in the centre of the building where I recorded it. That’s more than accurate enough for me.

It doesn’t weigh much and consumes AA batteries quite slowly in the usage pattern I employ (on for about 30-60 times a day for 1-2 minutes each time - so from 30 mins to 2 hours per day). 

And the cost is modest compared to paper maps given that my ongoing map costs are now zero. 

However as a device it is looking expensive compared to a smartphone when you consider the level of overall functionality. High time for Garmin to raise their game by about 1,000%.


Other caveats


  • Amongst other limitations, imported Tracks can only contain 500 points even though you can have up to 10,000 points on a recorded Track.If this irritates you then ask Garmin why they needlessly do this. It may be due to memory constraints on the device.
  • I put all 14 Tracks into a single GPX file. I suspect that perhaps it is better to have only one Track per file, though I have found nothing that says I must do this.
  • In any case I have found that it is vital to have a backup of all my data on a Micro SD card with me. On this card the GPX file(s) should also be in the /Garmin/GPX directory. Otherwise they will not be visible to the GPS.This backup enabled me to get a new working copy of a Track that had failed. See below for details.
  • Consider changing the names (those within the GPX file, not the filename) of all these Tracks so that it is clear that they come from the backup copy.
  • I always have two sets of spare AA batteries. Just in case I fail to turn off the device one day and suddenly a whole set is gone. Or I meet someone in desperate need.

When a Track fails to display


  • I was using the device without the Micro SD card installed.
  • One of the Tracks suddenly did not display on the map.
  • It remains visible in the list of Tracks in Track Manager.I suspect that this occurred when I was displaying more than one Track at a time from the same GPX file. But I can’t be sure.
  • So now it cannot be used or deleted or archived.You can in fact delete the file using a computer, but of course you don’t walk trails with one. Looked at later on a computer the files were corrupted. The culprit for this has to be poor Garmin code, of which there is far too much.

On the GPS

  • Insert the micro SD card with your backup tracks and restart the device.
  • In Track Manager you will now see two copies of each Track. 
  • One of these is on the device the other on the card.Don’t expect the Garmin software to be smart enough to show you which is which. That’d be asking too much. However if you were very cunning you would have anticipated this and changed the names inside the backup GPX files ahead of time. 
  • Pick the one you need and if it works it’s the right one. If it does nothing it is the one you will need to delete later.
  • Select the Track and use the option Copy Reversed
  • This copies the Track (with a new name) from the card to the device.
  • Remove the card.
  • Now in Track manager you will see the new Track name and can use it, including display it on the map.It does not matter that it is reversed, at least to me, as I never “follow” (in the GPS sense) a Track. I merely walk along it.
  • Once I had figured out this trick I repeated it for all the tracks ahead of time. This saved me having to stop and fiddle around in the middle of the walk.

In future

  • I would create separate GPX files for each track and also load a copy of each track under a different name (For Example SNT-S01 and SNT-R01). Then only display one track on the GPS at a time.
  • Irritatingly the GPS sorts the tracks based on the distance to the start and does not offer an alphabetic sort order.I named my tracks SNT-S01, SNT-S02 ... SNT-S14. Each of my sections contained the next 500 track points and covered several of the Stages as defined in the notes.


Wednesday 26 November 2014

Using GPS

You can find more complete tutorials elsewhere, but here is a little more detail on the preparation and use of a Garmin eTrex and similar units.


Create a Profile

First of all set up a profile with the settings, screens and fields that you personally like to use. You can name the profile as you wish and can have several of them. I only use one.

My profile “Hiking” has five screens set as follows

Satellite screen - shows how many are locked in, accuracy and elevation.


Map screen - set to show 2 fields - distance and bearing.


Compass screen - 4 fields - destination name, heading (where you are going), distance and bearing (where you should be going). Plus the compass pointer.


Trip computer screen - with 6 fields, 4 small and 2 big. time of day, sunset, elevation, speed (or sometimes ETA), Distance (big), location (in units of my choice).


Main menu screen - used for managing everything else.


The order of the menu items can be adjusted to suit your needs. I like to put the next most important items at the bottom of the multi-screen menu page as an UP move with the cursor takes you to the bottom of the menu page.


Load a map

On your computer
  • Go to garmin.openstreetmap.nl
  • Select options for the map you want. You can do this by country. 
  • Choose your map type: I use one of the first three.
  • Include a TYP file (Optional): I choose MAPNIK.
  • Enter an email address and click “Build my map”.
  • You will get two emails. The second one contains the download location for various versions of the map.
  • For simplicity choose the ready to load file. This has a Micro SD logo next to it (as opposed to Windows, Apple or Linux). The file will be called something like osm_generic_gmapsupp.zip
  • Open the zip file and extract the contents. The filename will end in .img
  • Rename this file to suit your needs “osm-gmapsupp-countryname.img
  • Attach the GPS via a cable to your computer, enable USB storage mode and copy the map file to the Garmin directory on the GPS main memory.
On your GPS
  • Disconnect the GPS. Restart it. 
  • In the main menu go to Setup then Map. Enable the map and set other options (such as zoom levels) as required.
  • Navigate to a city in that country and you should see the map. Zoom in for more detail.
A refinement
  • Unfortunately by default all maps will have the same name as seen in the GPS irrespective of the system filename used.
  • To rename a map's internal name you will need a tool called gmt. This runs on Unix based system such as OS X and Linux. There may also be a Windows version.
  • To change the name issue this command in a Terminal window in the same directory as the img file. Then copy the img file to the GPS as before.
  gmt -w -m "Country Name" osm-gmapsupp-countryname.img  
  • Having done this you will find "Country name" in the map list on the GPS
  • This is obviously helpful when you have several maps of different countries installed in you GPS.


Load a track

On your computer

  • Go to Walk Highlands SNT page
  • Click the desired section
  • Click "GPS Waypoints - GPX"
  • A file called "stage-name.gpx will download" (actual name will vary)
  • This file contains a Route. I prefer to use Tracks.
    To convert one to the other I use GPSBabel. Using this tool is outside the scope of this blog.

Note

  • In my Bundle of files you can find a GPX file with all the Tracks already converted. 
  • I have joined these into a single file split with a maximum of 500 points per Track. 
  • There are 14 of these Tracks covering the entire SNT.

On your GPS

  • One way or another you now have a GPX file with one or more Tracks in it.
  • Simply attach your GPS to your computer. 
  • Enable USB mode on the device. 
  • Copy the GPX file to the /Garmin/GPX directory on the device.
  • Restart the GPS. 
  • Go to the Main Menu then Track Manager (or Route Manager if you did not convert the file).
  • Select the Track. Then use the Show on Map option.
  • You're done. You should now see the Track on your map. You can change the Track colour to suit. I stick with the default which is Red.


How I navigate

Overview Map

These are very handy for planning. In Iceland I used one. In Scotland I didn't. This was partly because I didn’t pass through London (Stanfords Map Shop) and partly because of a false idea that I must somehow know the UK. Of course I don’t. But at least I know a bit more now.

Preparation

Into my GPS I loaded three types of data
  • A map of the entire UK with most trails shown in fine detail.
  • Points of Interest (POI) for some landmarks in Britain (not very useful)
  • All the tracks from Walkhighlands. I could perhaps have done this better. 

Using the GPS

  • Most of the time I use the GPS merely to show far it is to the next objective ("as the crow flies"). 
  • I seldom need it to find out where I am. 
  • In some places I use it to see if I am straying from the GPS track.
  • On cross country sections I note the distance and bearing then use a compass and distance estimation. I recheck fairly frequently depending on terrain.
  • I record waypoints for the places where I sleep each day and use these to create a map.

I navigate at many levels

Each level answers different questions...
  • 200km - Where is the next resupply point? How many days will it take to cover this stage?
  • 20km - What is today’s objective? Where would be a good place for a lunch break?
  • 2km - Where the next objective? Does it go up to a pass or along a river? Is there a boggy section coming up?
  • 200m - Where does the trail go next? Are there any turns coming up? Are there any notable landmarks?
  • 20m - Where am I going now? Am I still on the trail? What do I see on the ground?
  • 2m - Where do I place my feet next?

...and requires different techniques
  • An overview map (preferably printed on plastic material) is ideal for the top levels - 200km and 20km. 
  • The GPS is quite helpful for searching for shops and towns 20km away, though the software could be a great deal better. Or use a smartphone.
  • The GPS is ideal for levels 2km and 200m. Once a course is set I refer to my watch compass from time to time and also mentally keep track of how far I have walked both in distance and time.
  • I check I’m on track at least every 20 mins (more if it is in thick forest, complicated terrain or poor weather) and try to avoid assuming too much about “where the track must go”.
  • Your own eyes, attention and trail walking experience are needed for the next 20m. Trail markings, footprints and wear help at this level too.
  • We’ve been doing the 2m level since we were about a year old so hopefully by now we have got this one nailed. Although it is remarkable to see how inefficient many people are. This is especially notable when walking in groups, which tend as a whole to proceed even slower than the slowest member.

Last but not least I make my own decisions about where to cross a river, based on the conditions I find at the time.

Navigation overview

There are of course several ways of navigating, and we choose the one that best suits our needs and abilities under our particular circumstances.

Using the notes

One method is following detailed written instructions, and if that is your thing then the Track Notes are commendably accurate and complete; at least as far as I could tell. 
I put them into my Kindle and by a (as I like to think) cunning slight of hand I also put them into my GPS. This let me check something while on the move in wet weather.

However I mostly read the notes ahead of time, mainly as a heads up for anything of importance, but not really for the turn by turn instructions.

Using a map… or not

Section Walkers can print the one or two pages they need from the Walkhighlands website or carry the paper map that covers their area. For a Through Hiker it is different.

Given the cost and weight of sufficient paper maps at a useful scale to cover the entire trail, it was a complete no-brainer to opt for another paperless walk. My Pyrenees and Iceland Traverses (amongst others) were useful practice. 

As backup I had downloaded all the maps to an iPod touch and carried two compasses (one on my watch). 

For much of the time the trail is well marked. There are sections, particularly towards the end, where you have to work it out for yourself. This gives a great sense of freedom.

The GPS tracks

Like the notes these are available from the Walkhighlands website, and I give them five stars for accuracy and completeness. This is not as easy a job to do as it may seem, so I really want to emphasise that someone (or many people) did a top job. 

My Thanks and Congratulations. I am impressed.

Hazards

#1 Weather

Hill walkers know they need to have good clothing suitable for rapid changes of weather (usually for the worse) even in summer. Of the three main factors, wet, cold and windy I find “windy” the hardest to deal with. But the answer to these three as always is good preparation, timely information and pacing yourself.

Good clothing layers, used properly, while maintaining your fluids and energy level will deal with most of the conditions likely to be encountered in Scotland. 

Informing yourself in advance of likely adverse weather patterns helps a lot, but this is sometimes not possible in the middle of a longer remote stretch. I’m still dreaming of the day when GPS data signals include summary weather information, but that is a bit of a technical challenge. Perhaps in GPS 2.0. 

Expanding one’s comfort zone by manageable amounts also adds to one’s ability to endure adverse conditions without putting oneself at irresponsible risk. Sharing the risks and pleasures with a friend is desirable but not always possible. Most of my longer walks are solo, while the shorter ones are accompanied.

It would be useful to have a rating for each section showing the degree to which it was sensitive to certain weather conditions.

#2 River crossings

My NZ (Te Araroa 2011-12) experience reminded me forcefully of the care with which river crossings need to be approached. That was probably my top mental challenge on that extraordinary walk.

There were very few challenging river crossings on the SNT, but I’ll immediately qualify this by adding “under the conditions I encountered”. Under more adverse conditions several of the crossings would be either impossible or extremely perilous. And in my view all river crossings should be treated with respect, having first answered the question “Do I really need to do this?”. 

Again, knowing in advance which sections are subject to this particular hazard (and where) would help with planning, and reduce the number of times people make ill-advised decisions. Generally the water goes down pretty much as fast as it rises, and it can rise extremely fast as I noted on more than once occasion.

I was a bit surprised that a group of “Duke of Edinburgh kids” clearly had no river crossing training before setting out. And this was amply demonstrated when one of them dropped a boot (carried loosely in his hand rather than securely tied on or hung around his neck) into the river and it floated off. Luckily for him an alert friend rescued it. Otherwise a long uncomfortable two day hop lay ahead.

Early in the walk a rather unpleasant drunk fellow challenged me as to why anyone would need two poles. Well crossing a fast flowing stream at thigh depth is certainly one reason, and there are many others.

#3 Midges

For some these are a complete deal breaker, and the only solution is to walk at a time of year when they are more or less guaranteed to be absent. They quickly turn what would be an idyllic rest stop into a nightmare. 

I reckon I was lucky to only need my head net about 4 times and that for short periods. Nonetheless I was glad to have it as well as the rarely used repellent spray I had in my armoury.

What is certain is that anyone contemplating doing this with just a tarp fly had better have deep reserves of stoicism. Or be doing it very late in the year. I never had a midge problem in a bothy.

#4 Snakebite

So here’s the reason for my unscheduled visit to Aberdeen Royal Infirmary ("May they be Blessed") that took me off the trail for 18 days. 

On day 21 evening I was bitten by an adder (Vipera Berus) just north of Blair Athol, close to the Geldie burn. 

At first I just felt a slight bee sting on my right inner ankle. I looked down in slight surprise (I had seen no bees) and then spotted the snake slithering away. At that moment I realised that the walk was taking a new turn. 

I am glad to say I remained completely calm and at no point did I ever envisage dying. However I now realise rather more clearly how this could kill a small child or a dog. It is not an experience I would wish on anyone else, interesting though it has proved to be in retrospect.

In brief the sequence of events went like this

  • After about 15 minutes (during which time I bathed the leg in the burn) the ankle and foot were already quite swollen.
  • Over the next 45 minutes, I had something to eat and managed to walk, with my pack but without much difficulty, about 300m to pitch my tent.
  • About 5 minutes later I vomited majestically for the first of many times.
  • The first night was pretty unpleasant. No sleep. Burning pains starting in the leg, especially if I raised myself up to any degree above lying down.
  • There was a lot of vomiting in a “trying to remove my entire intestines though my mouth” type of way.
  • I was shivering violently at times with chattering teeth as if the temperature was about -20C as opposed to +20C.
  • During the night I had to get out hurriedly to go to the toilet. The details of this are unpleasant and are best glossed over. I could not move very far.
  • However by morning all that was over and I felt fine. Except for the swollen leg. Moving was completely out of the question.
  • A kind hiker brought me some water. The 50m to the burn looked like rather a long way.
  • A couple of hikers came by and gave me some Hydrocortisone which I took. Not sure how much this helped.
  • A second couple came by. They took my details and we agreed a sunset plan whereby I would try and exit and contact the police in Kingussie before six days had passed.
  • At this stage I (naively) imagined resting up for a couple of days until the swelling had gone down and then slowly walking out as it became better.
  • By the following morning my appetite was back and I could wiggle my toes a bit better but there was no chance of moving that day or even standing up. 
  • The leg was starting to turn a bit black in places from minor internal bleeding. I started to take photos of its progress.
  • By 11am on the second day Peter, the ranger for the estate, (he had been contacted by the 2nd couple) came out in his Landrover. It was not a hard decision to leave with him to Braemar. A drive of about 30km.
  • At the local medical centre I was seen by a doctor who immediately called for an ambulance.
  • The ambulance took me to ARI in Aberdeen, where I was admitted and assessed. 
  • I was given a drip of antivenin and antibiotics, but only after they had first read “the book”. I was their first snakebite case in a very long time.
  • Eight days in hospital with full bed rest and many cups of “lifesaving” tea was enough to get me tentatively onto my feet without burning pain. It had taken two days for me to even reach the bathroom, and another couple of days before I was able to use crutches to get around a bit. All the time with my foot raised as far as I could manage, which made for some unconventional acrobatics in the bathroom.
  • Once discharged I stayed with kind friends for another eight days till I felt able to take to the trail with some confidence. Even then brushing my leg with the other foot was quite unpleasant. Paradoxically prodding the leg was not at all painful. Brushing it very lightly with a bed sheet was strangely horrible.
  • Two months after the bite a 12 hour flight caused both legs to swell, as it often does. The bitten leg remained quite swollen days after the other leg had gone down. A further two weeks (and some professional Thai massage) later it looks pretty much normal again.

The three things I am most grateful about
#1 This happened in Scotland and not in Australia. I would not be writing this otherwise.
#2 That there is still a functioning NHS system in Britain. The good folks at ARI were truly wonderful.
#3 That it was on my foot and not on my hand. True, that makes it more difficult to walk, but being somewhat “further away” was, I fancy, rather less uncomfortable.

Lessons to take away

  • There is one venomous snake in Britain. Its range is extensive. It does bite. The result is nasty.
  • If you have the means to contact the outside world and there is a signal then I’d do that sooner rather than later.
  • If you can’t contact anyone then keep calm and rest. Hopefully someone will come by. If you have anyone with you send them for help. 
  • It may be days before you can really move yourself without considerable pain.
  • As always, maintain your fluid intake. "Most situations look better after a cup of tea".
  • I didn’t do any bandaging or anything other than soaking the limb in cooling water. The staff at the hospital did not suggest that I should have done anything different.
  • Unattended the swelling may come down (or it may not) but the risk of internal infection remains.
  • It was very soon impossible to see where I had been bitten, so it would be unwise to assume that the absence of a bite entry wound means nothing nasty got in. Snake venom of whatever type is a pretty potent cocktail. 
  • The bite may be dry, or it may not inject much venom. But if it does then you’ll need medical attention if only to ensure no infection and no dangerous blood clots.
  • The bite itself was no big deal. The sting of the injections is far worse than the snake bite. “It’ll be a wee bit nippy” the nurse said as she plunged a syringe into my stomach. She was not joking!

Keeping calm is essential
The vomiting phase will finally pass. So will the shivering. And you’ll feel more or less fine afterwards. 

It may have helped that I didn’t actually see that brief but awkward moment when the snake was actually attached to my leg. That is an image I’d rather not have in my head.

What to carry?

  • Carrying antivenin is completely impractical for most people. 
  • Pain killers were useful. Codeine is quite effective.
  • Antibiotics BUT you would need the right sort AND know how to take them. In many places (but no means all) they are quite rightly prescription only.


If anyone can learn anything useful from this experience I'll be glad.

Tread carefully! With attention but without fear.

Tuesday 25 November 2014

Gear

Footwear
A fair chunk of this trail is wet underfoot. As a result (and because it was what I had anyway) I favoured light shoes over heavy boots with no Goretex. 

Over time I’ve come to the conclusion that quick drying is better than trying to stay dry, which in a place like Scotland (or NZ) is a completely futile exercise. After a while you just give up and go with it. Any section that’s easy and dry then becomes a bonus.

I used La Sportiva Boulder X shoes. By the end of this trail they were pretty much trashed with dangerously smooth soles and the uppers were full of holes which helped drainage, but also lead to small stones accumulating under the balls of my feet. 

However for $120 I have worn them in great comfort over 2300km of trail between February and October this year, plus day to day usage. So no complaints from me.

Into these I put my usual inner sole combination: Noene for shock absorbtion and Superfeet Green for comfort and familiarity. These are a well worn combo. When I replace them I’ll move up to Superfeet Orange if I can find them when I need them.

If I was doing it again I’d go for a solid trail runner. And in particular I’d want one with a good fast lacing system so that the period of putting on wet shoes is kept to the minimum. I’m trying out some Salomon trail runners now and love their lacing system.

Tent
Tarptent Contrail (750g with 9 pegs). This is the second long hike this summer with this tent. I’ve been using it for a little over a year. As in Iceland I was very glad to have the five big stakes I bought in Kathmandu. Bug netting is beyond essential, and this tent does it well. I use it with a single fixed length pole of 115cm which works fine for me.

Backpack
This will be my last hike with a ULA Catalyst. It’s been fine but simply does not last long enough for an expensive pack. This is not due just to the abuse I throw at it. Partly it is due to poor design and choice of materials. It’s done me fine for a couple of years, and has some good features, but I would expect much more longevity for the money.

Cooking
I carried two stoves and was very glad of that due to poor availability of fuel. I have a Trail Designs Caldera Cone (alcohol, tablets and wood) and an MSR Superfly gas stove with an aluminium wind shield. Both of these worked really well when used. More and more I relied on gas, which was easier to get.

I used a Evernew 900ml titanium pot, a 500ml titanium cup, titanium spoon and an Opinel knife. I also bought a pack of three small light plastic containers for butter etc. Very handy.

Clothing
Conditions were never very hot or very cold, but often wet and sometime windy. I used lots of layers, which I tuned as required. My lower layers were Icebreaker Merino wool with an OR Goretex Pro shell outer (top and bottom). 

When dry and cool I used a Sherpa softshell jacket. My trekking pants and shorts are both Sherpa softshell. Very happy with these. 

I wore about 4 pairs of socks in rotation, and one more for nighttime use only. Light and quick drying socks are better here than heavier warmer socks. Some were synthetic and some wool. For preference I’d like ones that are easy and quick to take on and off. I wore out and threw away two pairs of socks.

Once again my Mont-Bell ultralight down jacket with hood was a winner.

Poles
Two Helinox poles. One snapped on the last day unfortunately. Both had had problems with the internal string tensioning system, which meant I had to tape them with duct tape. But very light at 150g each and they did a fantastic job as usual.

Sleeping
Exped -1C bag. About 800g. Small piece (0.5m square) of closed cell foam. 3/4 length Thermarest ultralite mattress. Did the business.

Technology
iPod touch, iPod nano, GPS, Camera, Kindle. And the means to power and recharge these. Of these the Kindle and GPS were mission critical. I will be upgrading the touch to an iPhone 5s shortly to provide a backup GPS and better maps.

Other
Hygiene, first aid and pharmacy. Spare batteries and a repair kit. Spare ziplock bags. Lots of small Exped drybags. One big tough garbage bag to line the entire backpack.